Semi-permanent varnish is becoming more and more popular in the nail world. This is a manicure that stays on the nails for about 2-4 weeks. In this blog, we will see how to apply semi-permanent varnish.
Application of the semi-permanent varnish step by step
Step 1: Remove cuticles
Push back your cuticles with a cuticle pusher. This is an important step because removing the cuticles will allow you to apply your nail product as far as possible and your regrowth will not be as noticeable.

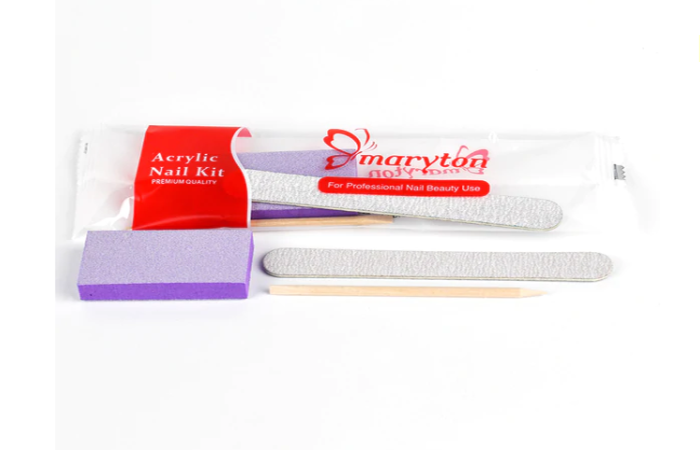
300 PCS $34.50
Step 2: File and matt nails
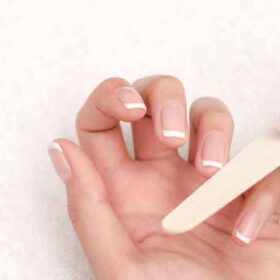
File the nails into the desired shape with a nail file and matt the natural nail plate with a nail buffer block. By mattifying your nail, nail products will adhere better to the natural nail.
Step 3: Apply base coat
Apply a thin layer of base coat. Make sure to stay 1mm from the cuticles and seal the nail tips, applying the base coat horizontally on the nail tips. Let your nails cure under a nail lamp.
Step 4: Application of a semi-permanent varnish color
Choose a nice color and apply it on your nails. As with the base coat, it’s important to stay about a millimeter from the cuticles. Let your nails cure under a nail lamp.
Step 5: Applying the top coat
Apply a layer of top coat and make sure the tips of your nails are well sealed. Then, let your nails cure under a UV/LED lamp.
We hope you liked this article and that it will inspire you for future. In addition to these, I advise you to invest in a complete manicure set. To help you in your choice, I invite you to visit our website.
Read also: How to make your semi-permanent varnish keep beautiful?


Leave a Reply