The colorful French manicure was in full flight and already, it is being dethroned by a new variation that is going viral: the reverse French! In this blog, your expert nail supplier Maryton will tell you the reverse French manicure.
The reverse french manicure, what is it?
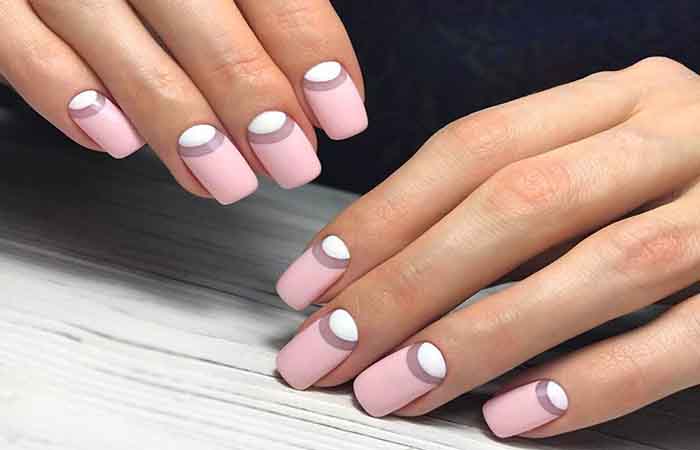
The reverse French, also called “reverse French”, is a minimalist and elegant manicure that uses the same technique as a classic French. The only difference is that you don’t put a color or white on the end of your nail to emphasize the shape, but rather in the position of the lunula!
With this new manicure, you can give free rein to your imagination by combining a nude or colored base with shades of blues, reds, greens, oranges, pinks, purples or even yellows… And don’t forget the holographic powders which can give your reverse french golden, silver or pearly effects.
How to do a reverse french manicure yourself?
Are your nails properly filed, cleaned and have your cuticles been pushed back? Let’s go! Start by applying your base color to all of your nails. You can choose blue, pink! Let the two coats of varnish dry well then use your liner brush. Take a little of the varnish of the color you have chosen for your French and apply it directly to the base of the nail in an arc.
Do the same for the second coat, apply top coat and voila: your reverse french is ready! Take care of your nails as usual then apply a base coat. Once dry, take the small brush delivered with your holographic powder and rub the material at the level of the lunula. Clean the edges then cover the part you want to hide with a thicker varnish.
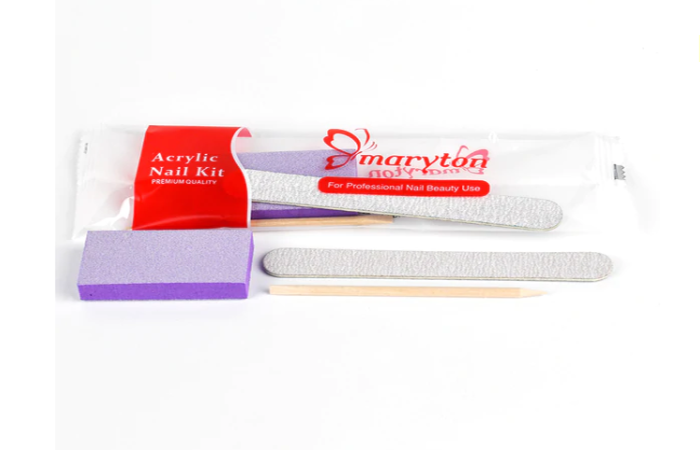
So, hoping that this article will have enlightened you a little. In addition to these, I advise you to invest in a complete manicure supplies! To help you in your choice, I invite you to visit our website.
Read also: The “Turtle Shell” Manicure Is Trending This Fall













Leave a Reply